Sale!
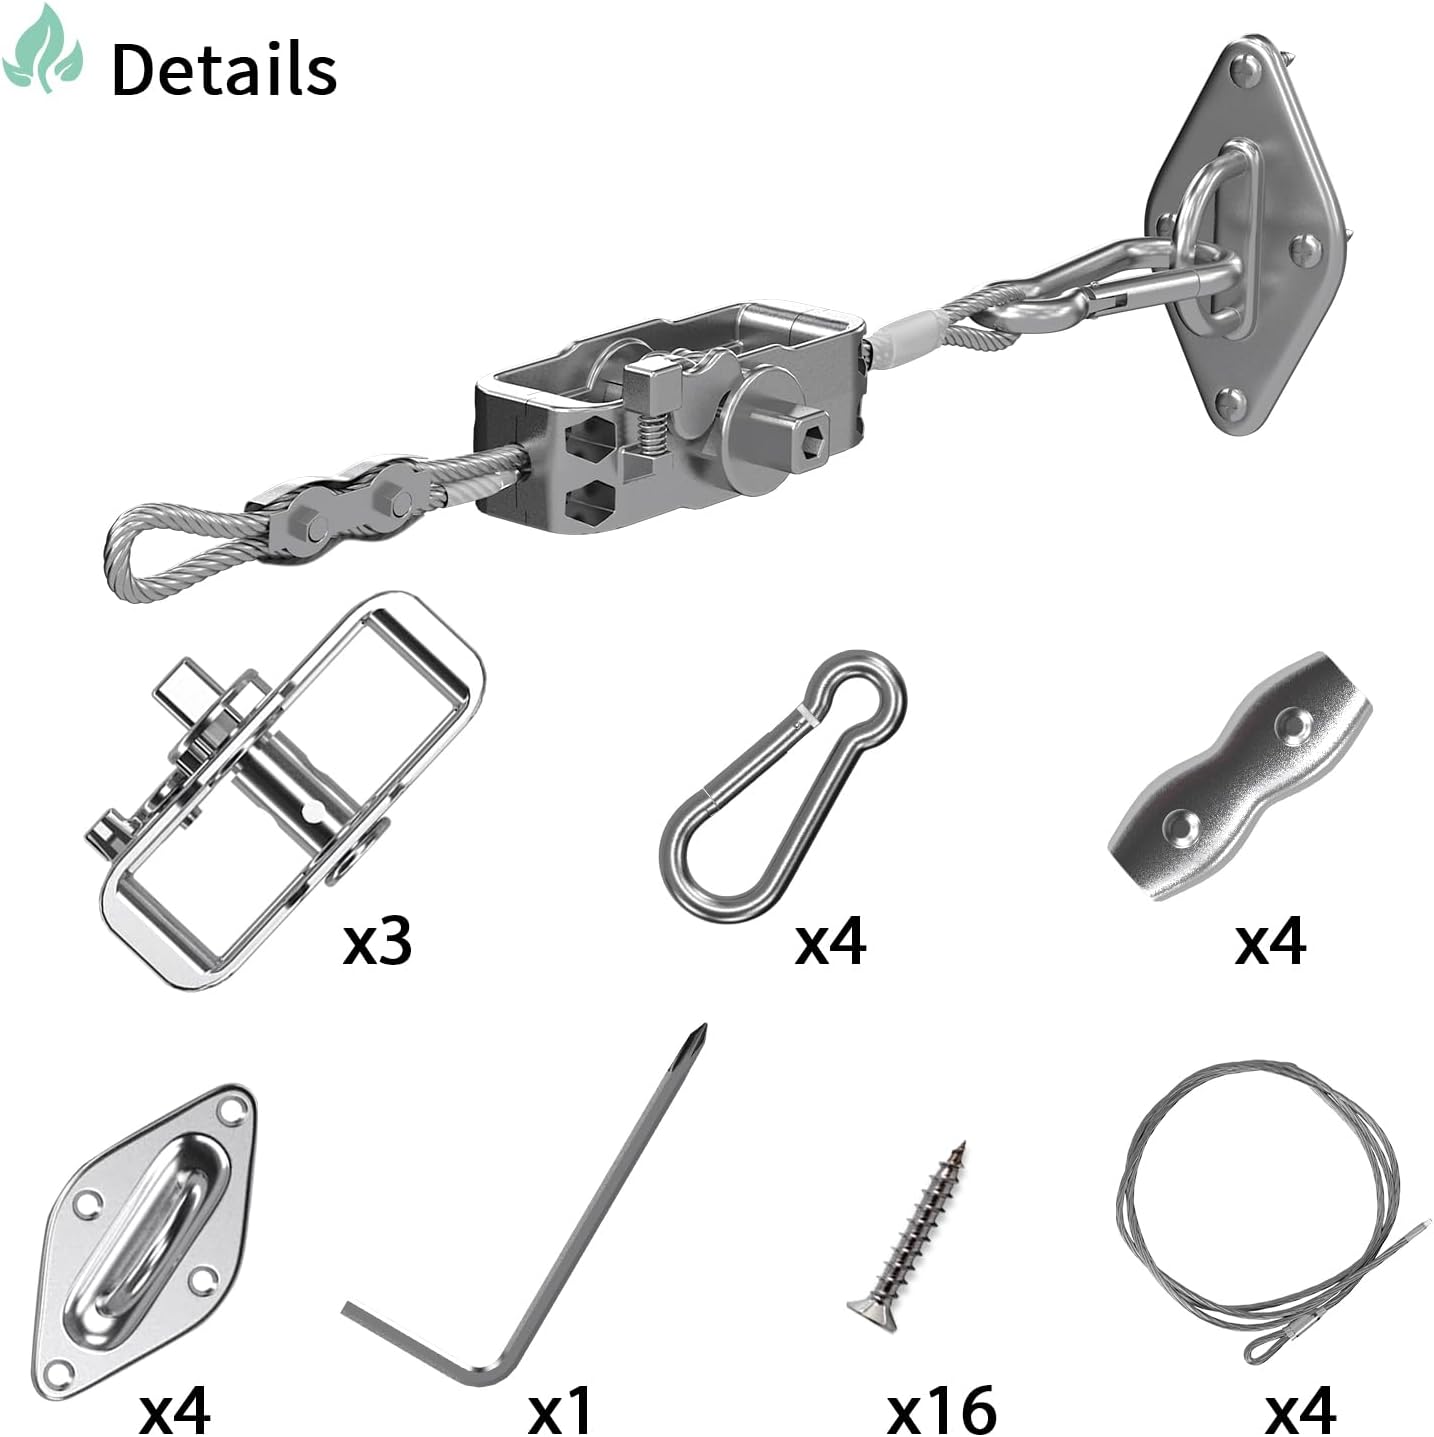
Hardware Kit for Rectangle Sun Shade Sail with Tension Wire Rope 24′ Sun Shade Cloth Installation Kit Accessary Set for Garden Outdoors
$ 14.17
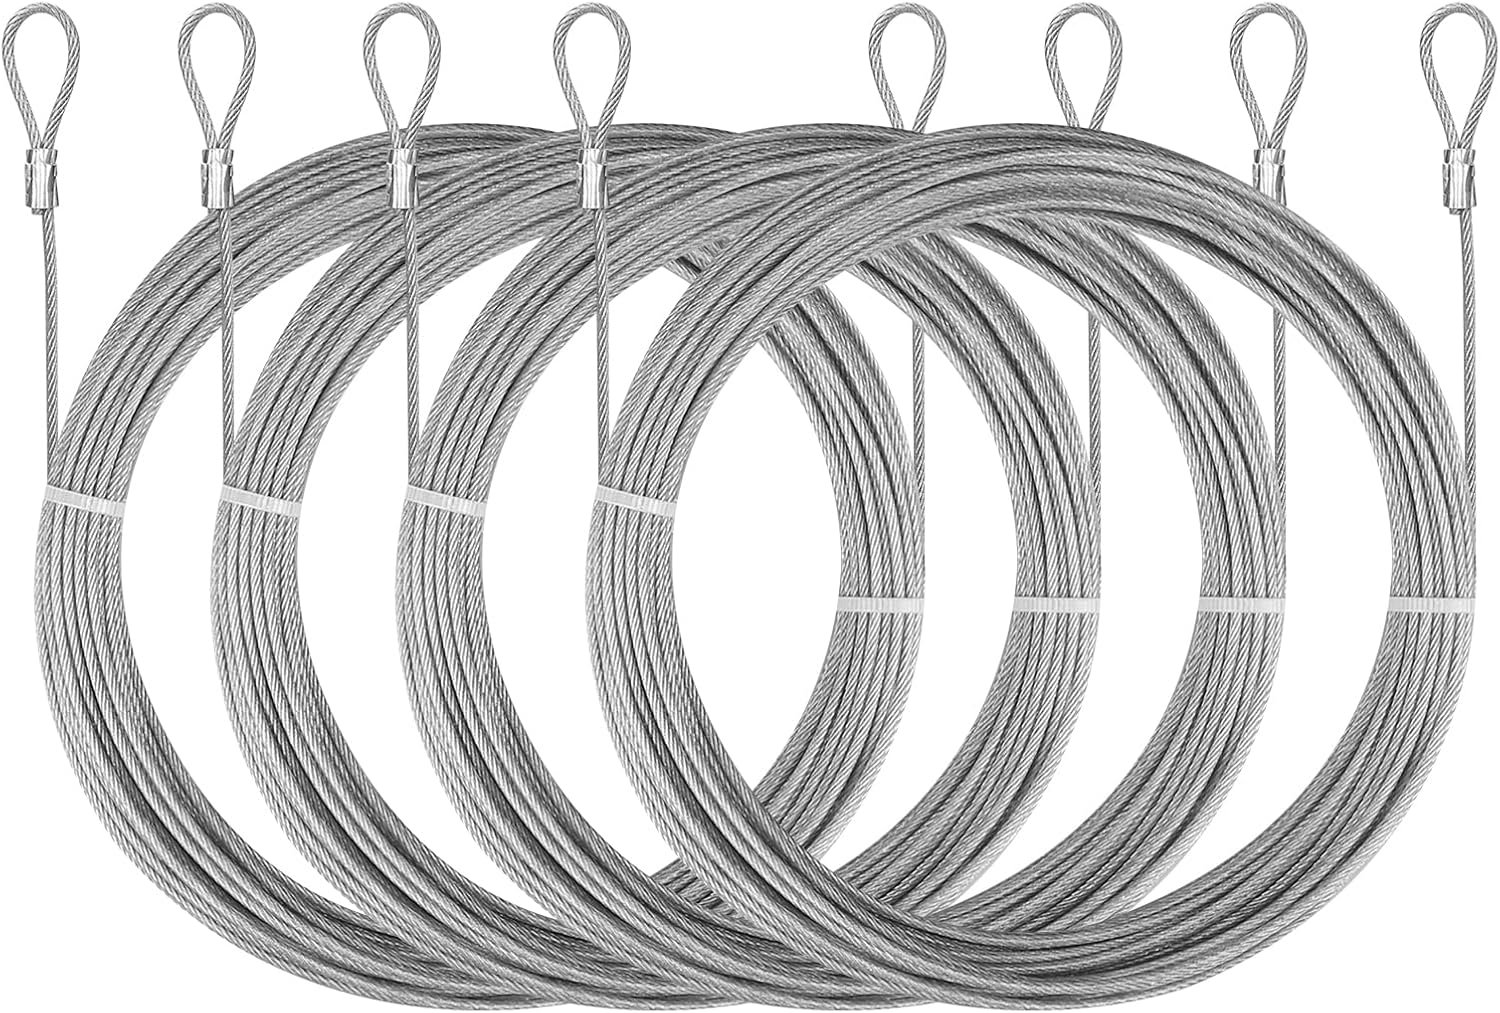
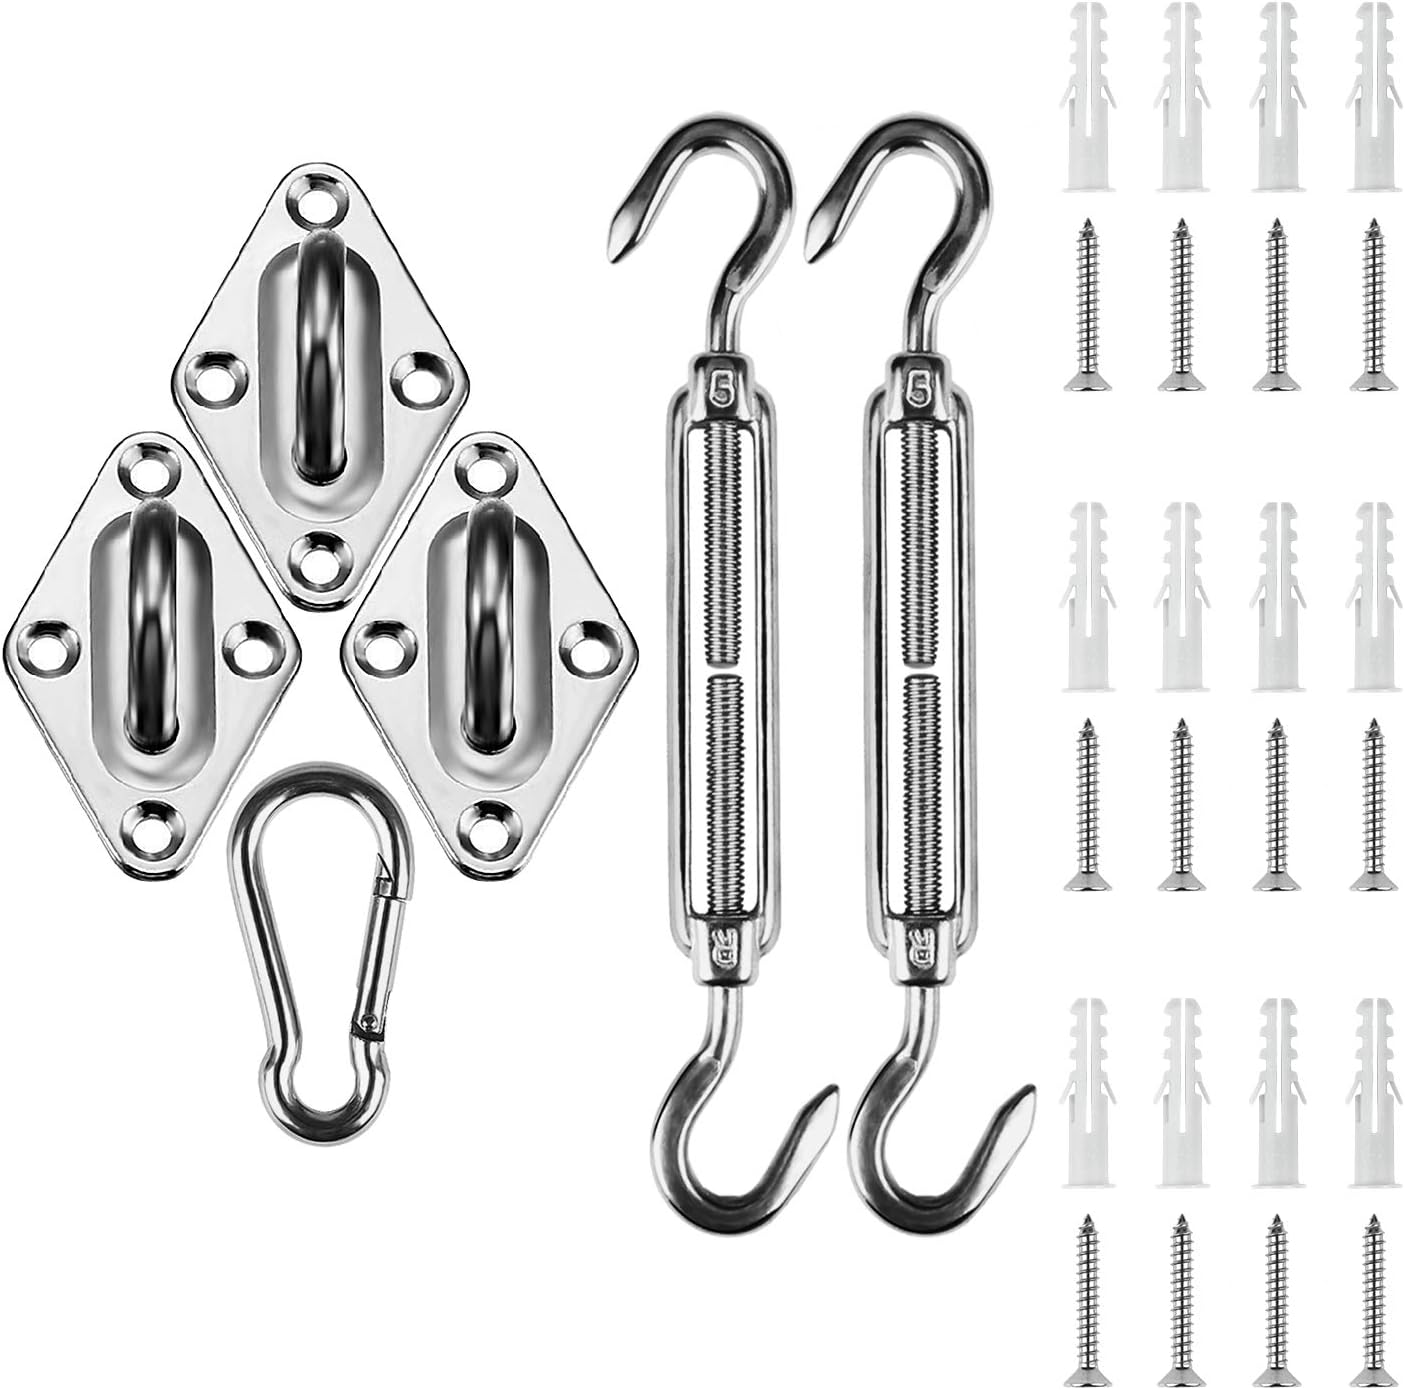
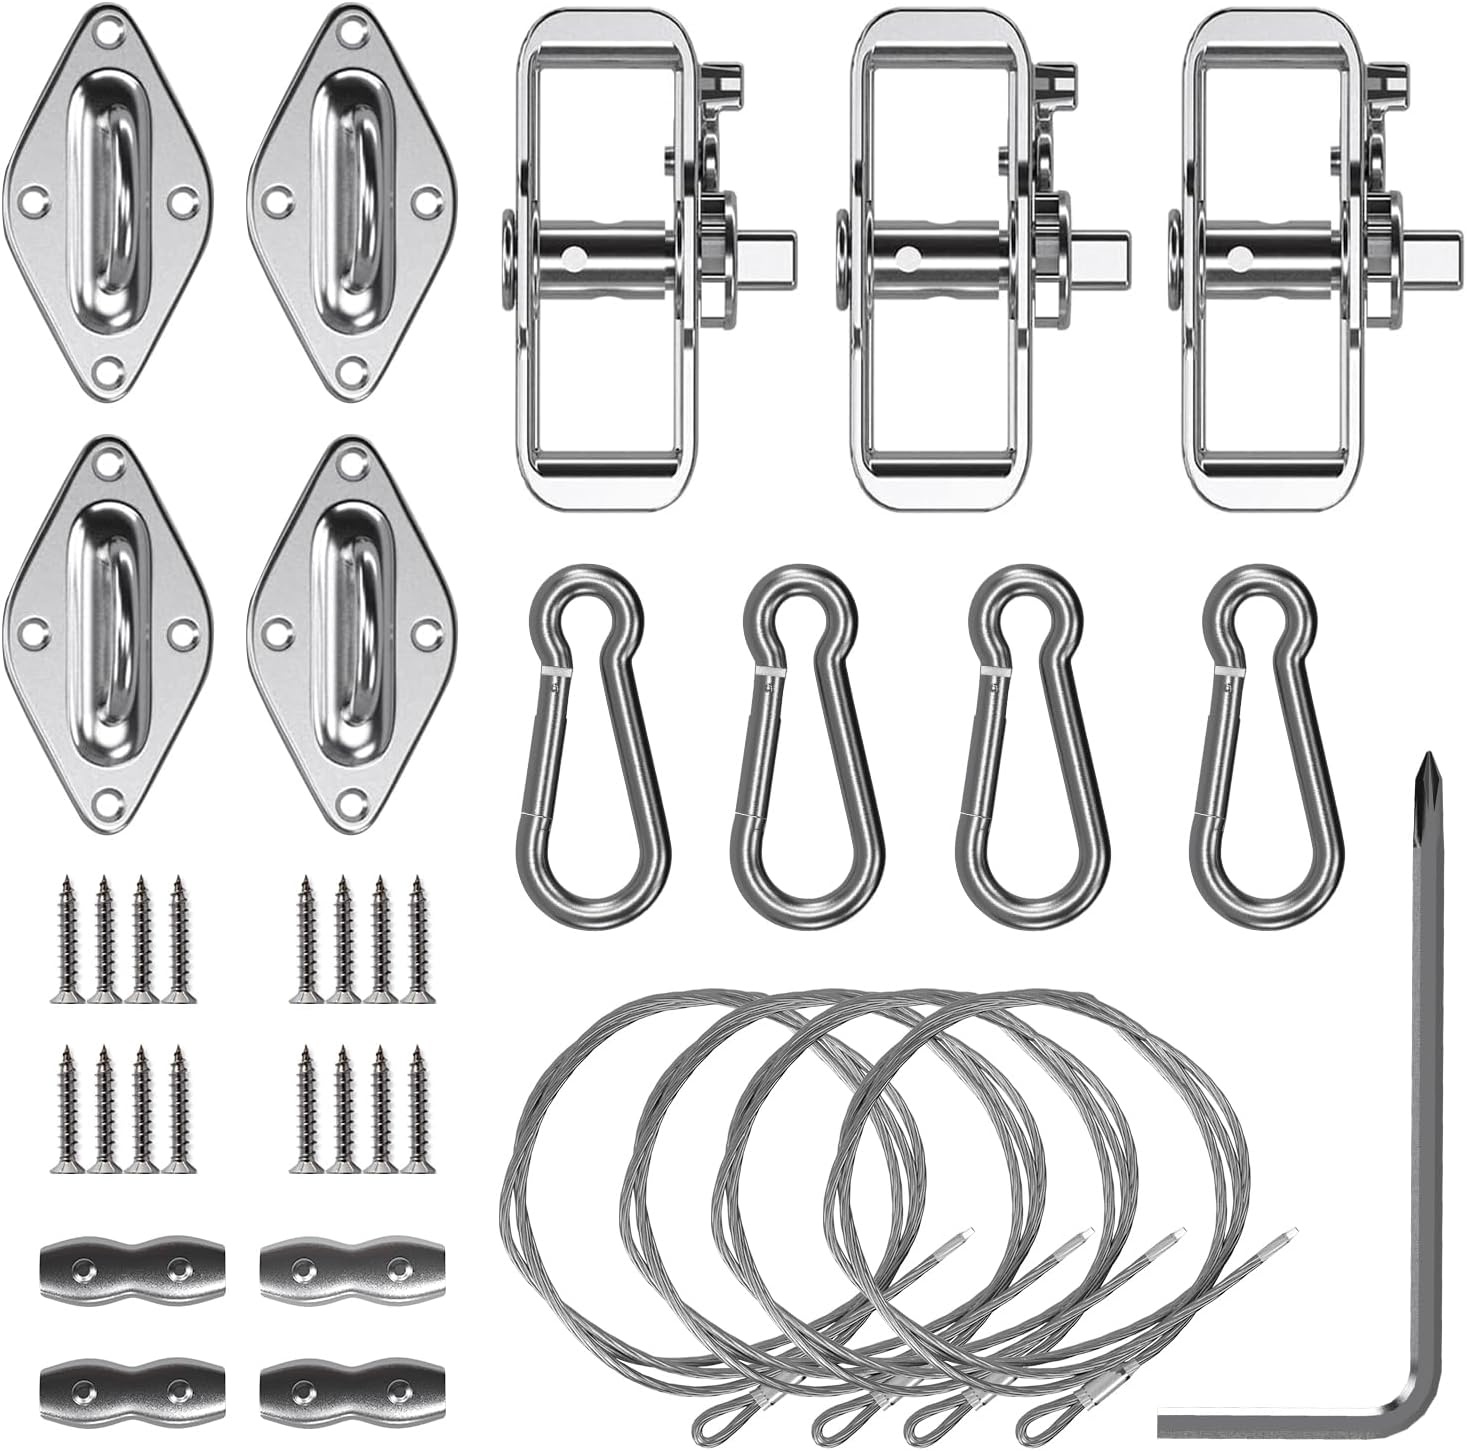
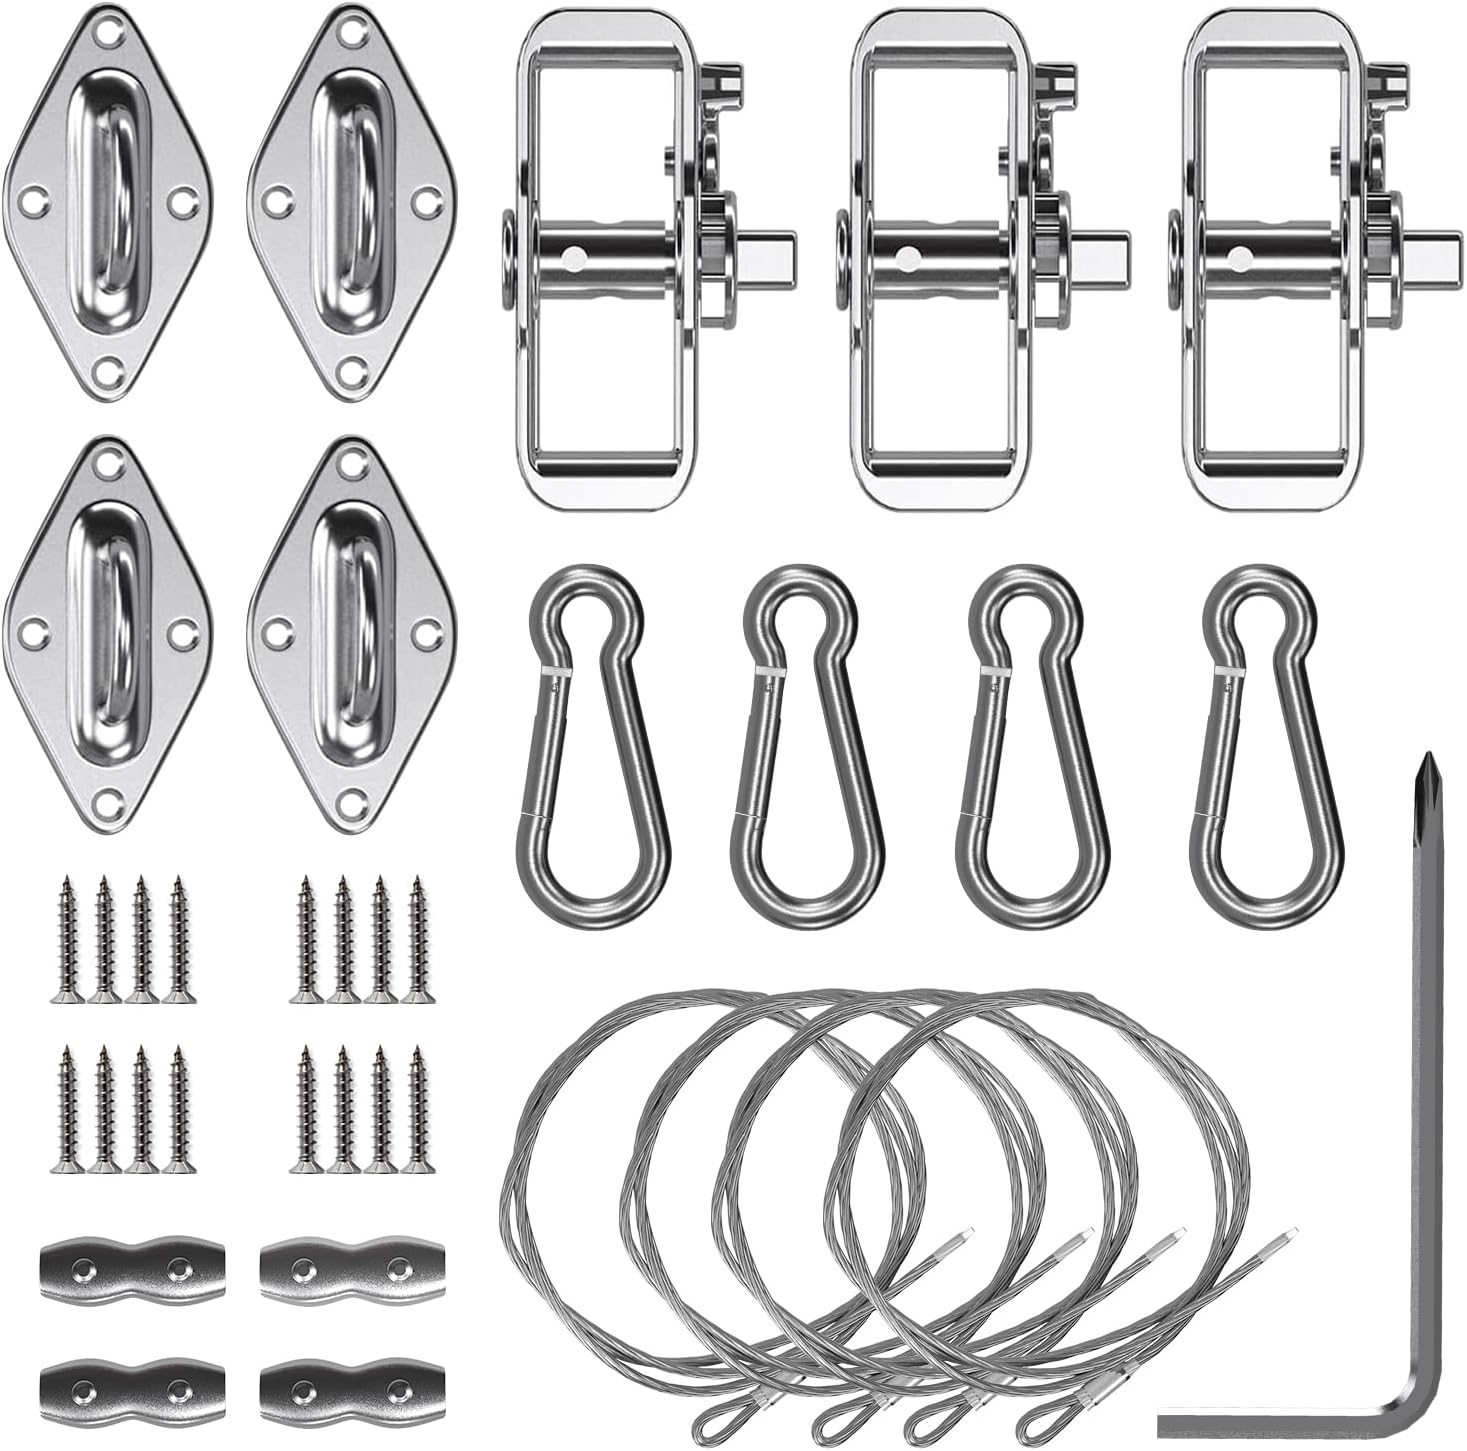
Overall, this is a really great set, with good quality materials. I love the winches – way better than other options (turnbuckles, etc.). They’re easier to use and hold the tension much more reliably. These pad eye mounts are more secure with 4 screw holes than other sets with only 2. The only weak points here are the screws (definitely swap these out, see Tips below), and the carabiners. Now, even though the carabiners are ‘cheaper’, they’re plenty fine for what they’re doing – they’re strong enough for this purpose. I don’t have any real concerns there.On the flip side, there are no instructions beyond the few pictures included in the description. As a first-time user, this was very frustrating. After a lot of trial and error, I finally figured it out (I think), so I’ll share what I learned along the way.TIPS- Yes, for the Rectangle kit, you only get 3 winches. You’ll mount one corner with just the cable, cable clip, carabiner and pad eye mount (see Picture (borrowed), bottom image). The other three corners will utilize the winches (Pic, middle image) to adjust your sail from that first anchor point.- I would strongly recommend replacing the screws. Use the blue, concrete anchor screws for cement/CBS mounting, and bigger, longer construction screws for wood or steel mounting.- I added a piece of clear rubber tubing over the cable where it wraps through the sail’s D-Ring to lessen crimping and potential wear from rubbing. (Not necessary, but may prolong the life of the cable).- When adding the winch, feed the cable through all 3 holes (end-middle-end).- Don’t cut your cables until you’re completely finished and satisfied. That’ll give you room to make adjustments.- You may want a second person to help.STEPS1. Install your first pad-eye mount (this will be your anchor point). Feed the tail-end of your cable (the un-clamped side without the pre-made loop) through the sail cloth’s D-Ring/Grommet. Adjust and clamp with the cable clip (Pic, bottom).2. Lay the sail out to figure out where to place the remaining mounts. Be sure to give yourself at least 1-2 feet between the sail ring/grommet and the mounting location.3. Install the 3 remaining pad eye mounts.4. Attach the remaining cables, winches, clips, and carabiners (Pic, middle) to the sail. Be sure to give yourself some slack on the cables so you can hook the sail to all the mounts.5. Hook the sail with attached cables to your mounts.6. One by one, remove the slack in the cable at each corner so that your sail is hand-tight (don’t use the winch yet). You’ll need to undo and reattach the cable clip (make sure to tighten the clip so it doesn’t slip).7. Once you have the sail positioned where you want, slide each winch to the middle of its cable. Using the included Allen wrench, tighten. (It should only turn one direction).8. You can now cut the excess tail off the cable if you want. You might use some hot glue or silicone caulk to keep the end from fraying.This is what I did. Others may have a better method for setting up. Whatever you do, stay safe and good luck! [...]